Save the Date Logistics
Save the Date! Save the dates are yet another thing that has to get done while planning your wedding. Below are some of the tips and tricks I used when compiling our save the dates.
Picking a Time to Send Save the Dates-My Personal Thoughts
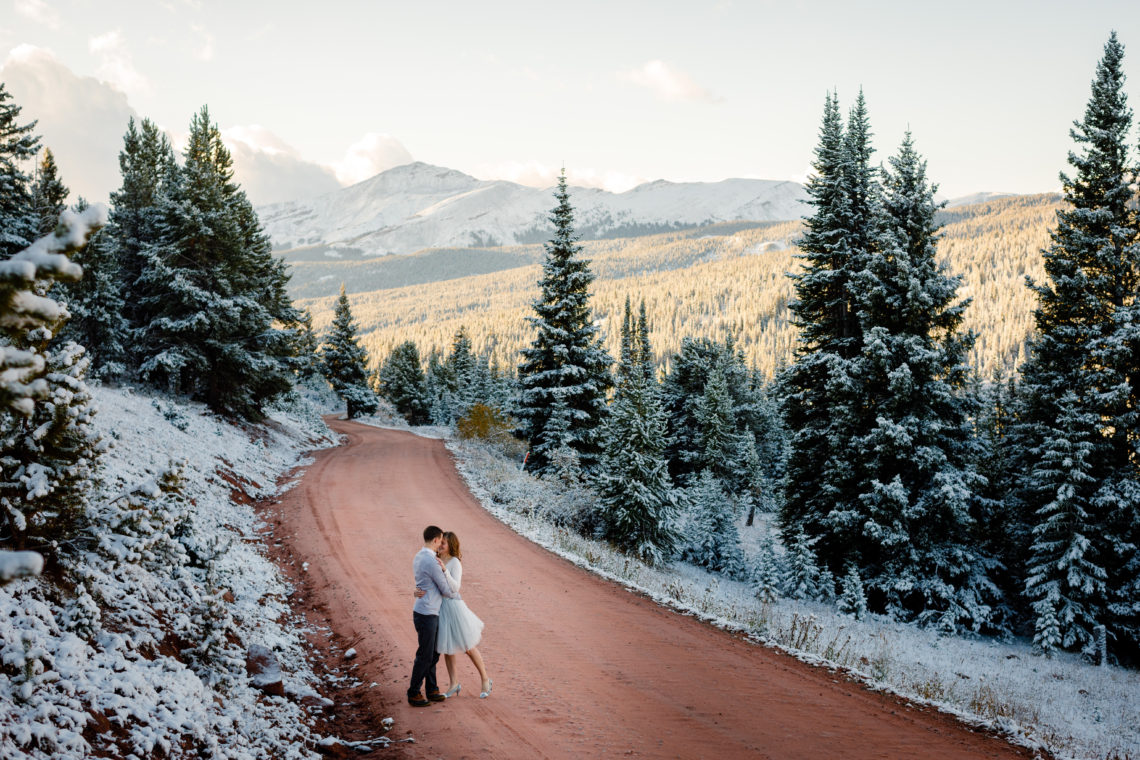
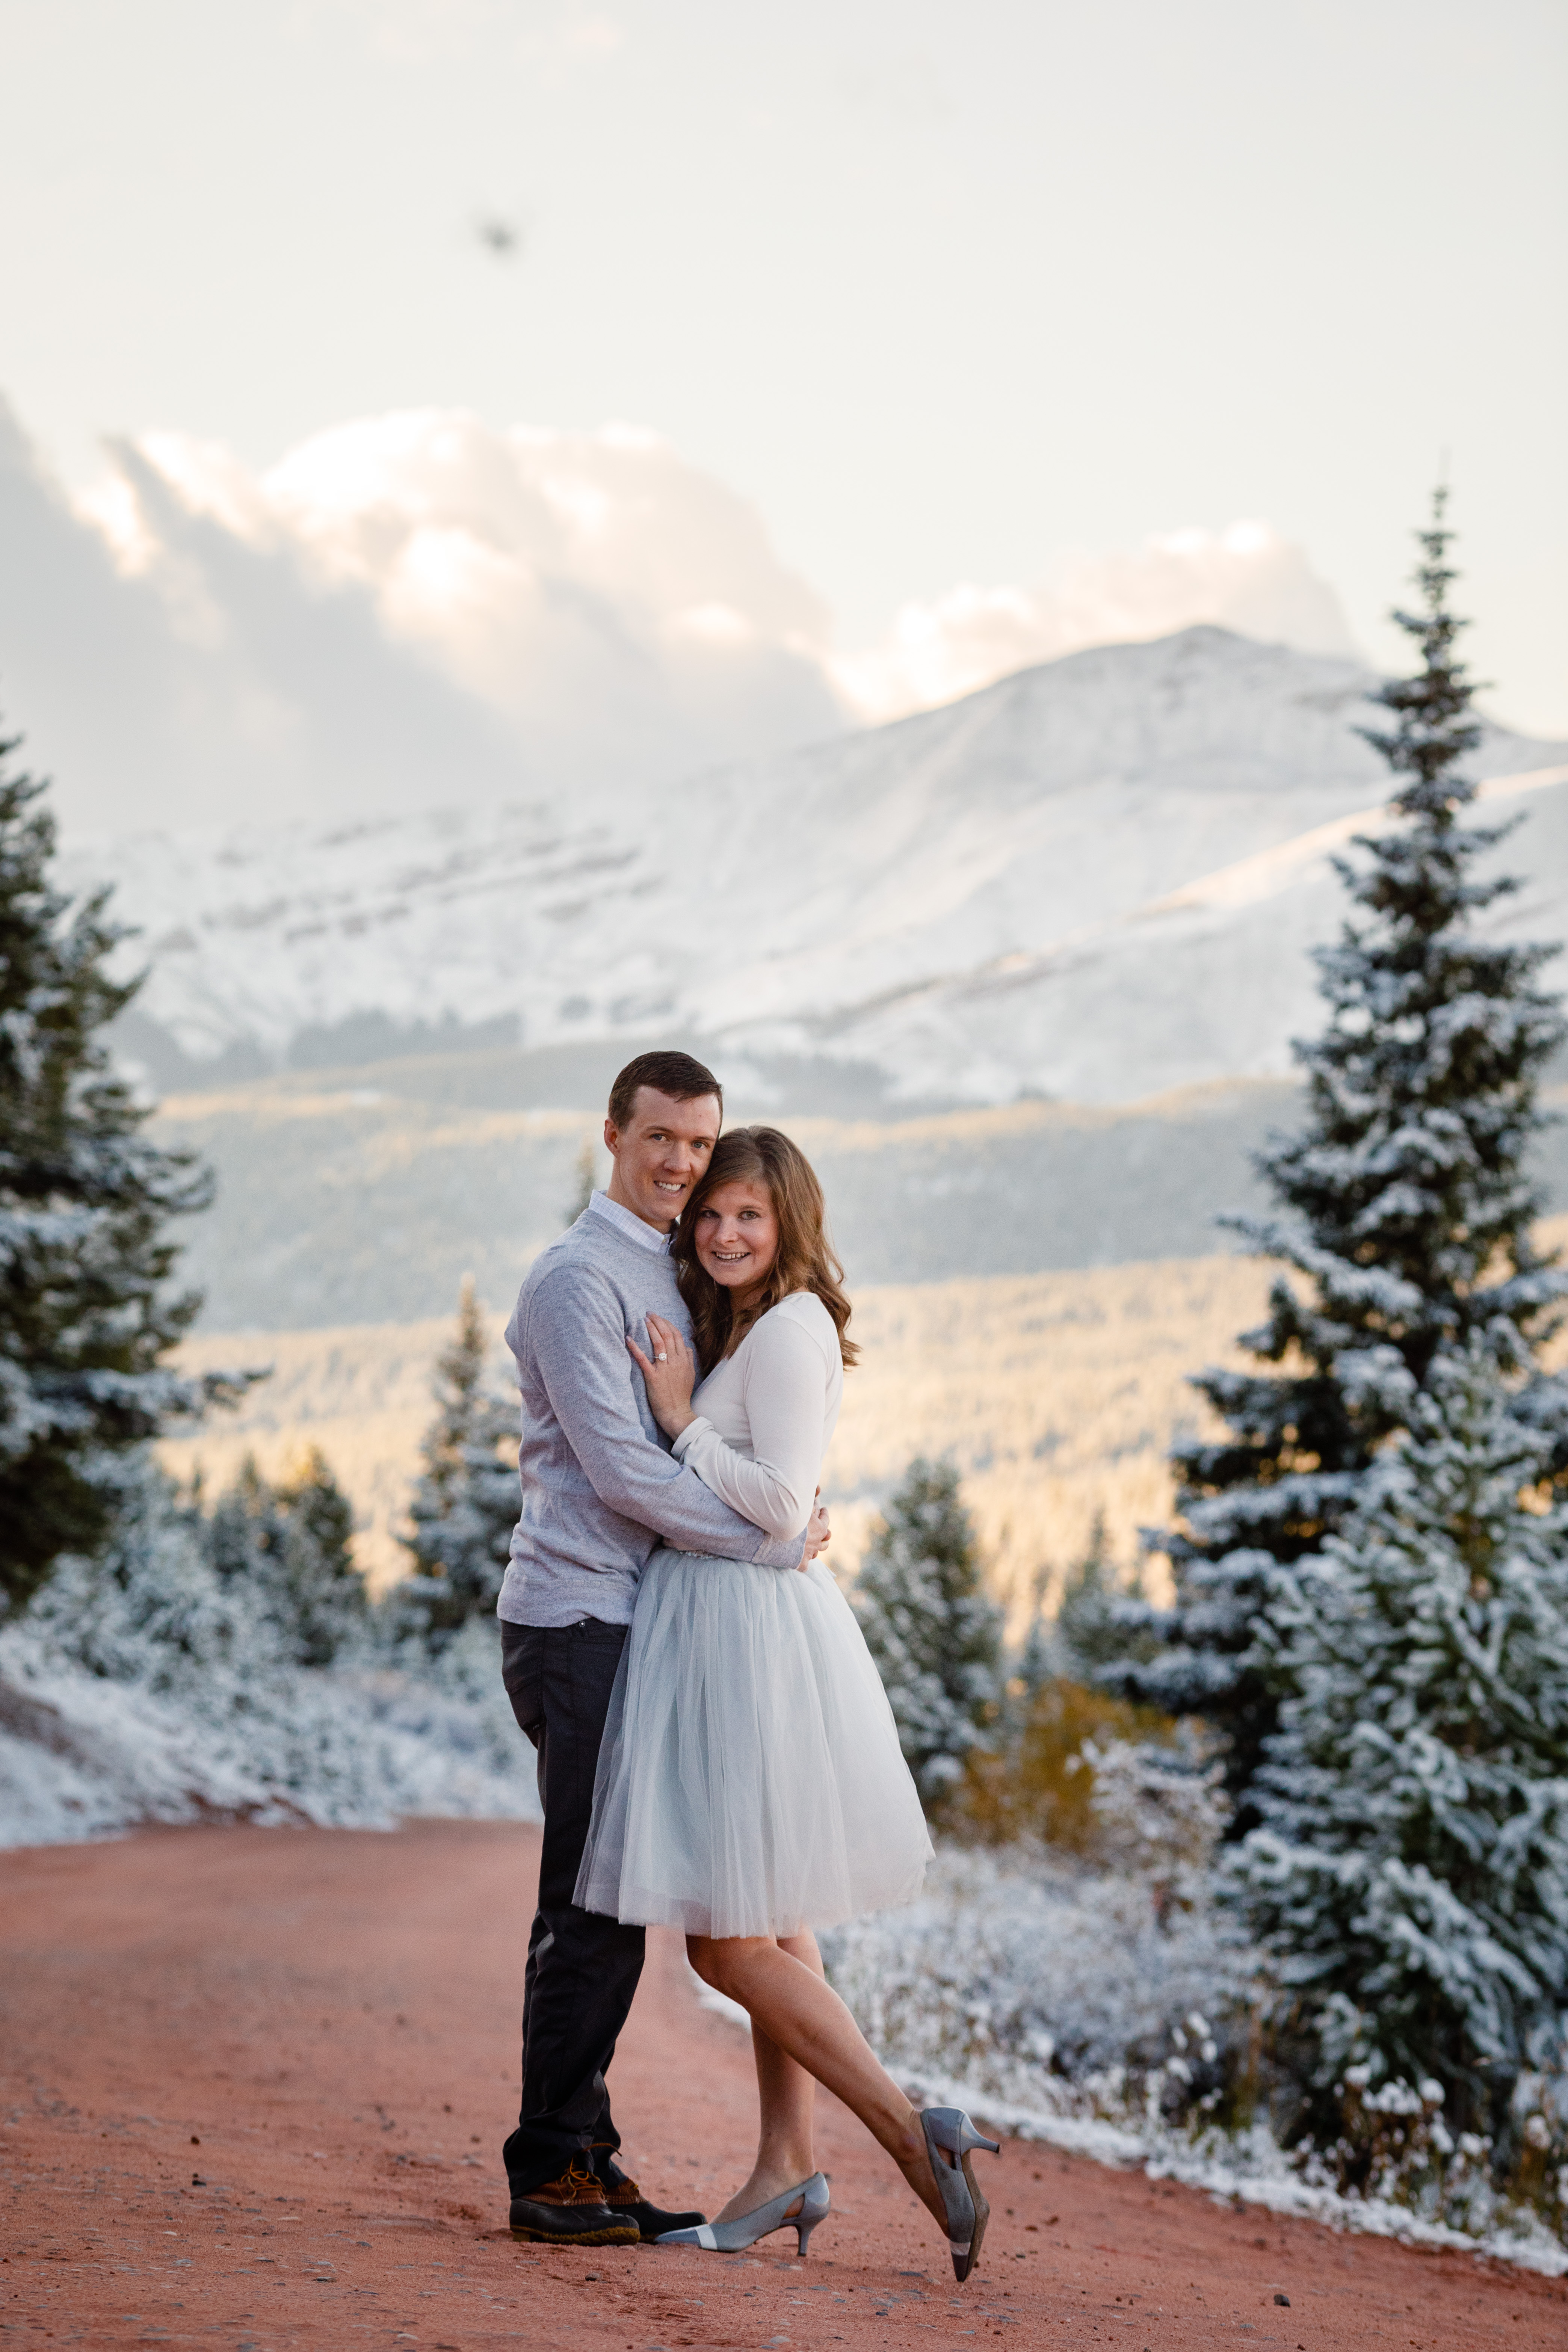
I recently sent out our save the dates for our wedding in October of this year. Prior to sending them out I was debating whether I was sending them too early or if I was even behind the game. When you google “when to send save the dates,” numerous different date ranges come up; 8-12 months, 6-8 months, and so on. When is the right time for you? Below is my recommendation for when to send them out.
- Destination Wedding: 9-12 Months
- >50% of Guests out of town: 7-8 Months
- <50% of Guests out of town: 6-7 Months
The majority of the people we invited to our wedding are from out of town and so I sent them our roughly 7-8 months ahead. Our Save the Dates went to 5 different countries, and 15 different states. I was absolutely in awe when I filtered to this level on the guest spreadsheet. Wow!
Organizing Addresses
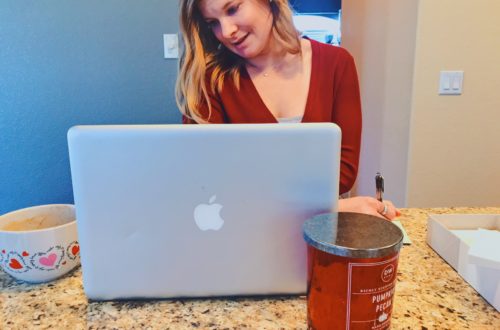
I used google sheets to organize all of the addresses and guests. It was easy and keeps everything fabulously organized. There also is a google sheet app for your iphone, so when someone messages you their address you can copy and paste into the spreadsheet right away.
Another great thing about creating a spread sheet it most save the date platforms have the option to upload your address spreadsheet. This way you don’t have to retype them and the envelopes then come all ready to go.
Ordering Extras
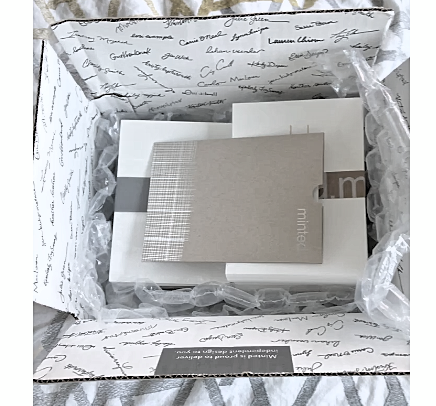
As much as I thought we had everyone on the spreadsheet, I still ordered a few extras just to be on the safe side. I personally ordered 5 extra. I figured this was plenty to have just in case. I also swiped one of these for myself to have as a keepsake with all of the wedding stuff. You could also ensure your address is included in the spreadsheet you uploaded so you have a keep sake one addressed to you!

Bride to Bride
I received some great advice from a fellow girlfriend, who got married in the last year. I was talking to her and mentioned that I thought about handwriting everyone’s address. What a great way to make the save the dates personalized by taking the time to handwrite the address. Her first comment was, “no Jessica, there is enough to do already with having to put them together to additionally have to write addresses on them.” Boy was she right. I followed her advice and had all the envelopes pre-printed, which was fabulous, because when the save the dates came there was still a lot to do with them. Get the envelopes pre-printed!
What you ask is there still do to:
- Envelope liners have to be put in, if you opt for these.
- The actual save the date card has to be put into the envelope.
- All of the envelopes have to have a stamp put on them.
- Finally, all the envelopes have to be sealed.
The above may not sound like a lot, but when you figure you are sending out at least 100 of these, it becomes a tremendous feat.
Miscellaneous Tips & Tricks
- Use a wet sponge to seal all the envelopes so you don’t have to lick them.
- Do one task at a time. I started out going through the whole process, one save the date and a time and realized it was going to take me way too much time. To save time I: put all stamps on the envelopes, then stuffed them and then sealed them. Doing one repetitive task at a time speed up the process.
- Make sure the envelopes seal. With the thick or different paper you choose for your envelopes, sometimes it takes a bit more to close them. As soon as I wiped ours with the sponge to seal (instead of licking), I held them shut and made sure the corners were sealed.
- Have fun with it! Don’t let the mountains of cards freak you out. Grab a cocktail and put on your favorite TV show or wedding movie and charge!


One Comment
Donna Harakal
Great post Jessica! Suggestions apply to any large event planning. Love it!