House Painting
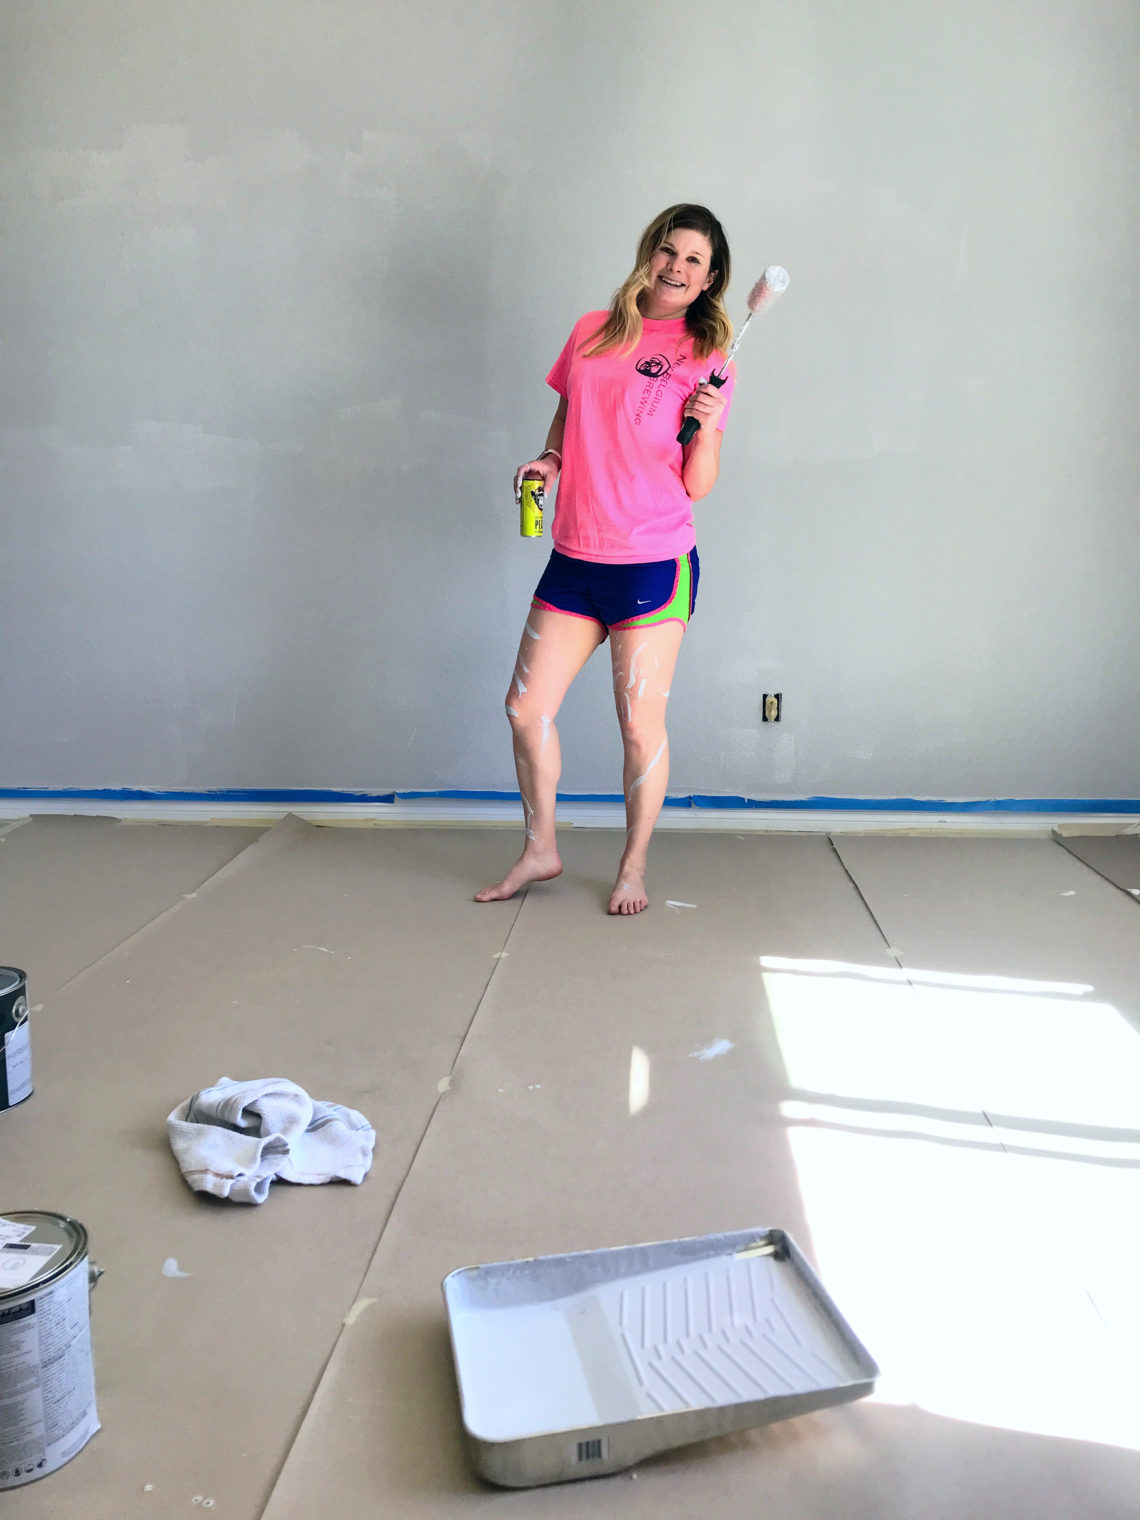
If you have been following along on Instagram stories, it’s no secret we have been working on painting our house. I am a cool color girl and currently our house is this yellow/tan/cream color. It’s on the ceilings and walls, so to say our house painting endeavor has been a small extravaganza would be a lie.
While we are almost done with the first floor, it still seems like there is A LOT to go. Having a lot to go isn’t the most appealing thing, but now that we have the art of painting mastered it shouldn’t be too bad. Yes, I called paining an “art.” Painting a wall may seem easy, but it’s unfortunately not. There is a lot of prep that goes into it and “art” then once you are prepped and start painting. The “art” I am talking about is not getting lines on the walls from your paint strokes. Having your brush/roller just the read amount lubed up with paint, the list goes on.
Where to Begin?
Color
Color is a super hard thing to pick. No matter how much research or paint swabs you look at the color you put on your walls is ALWAYS going to look a little different than what you anticipated. This is OK. Don’t freak out. This is why I don’t recommend going too abstract, however it’s completely up to you.
I recommend deciding what brand of paint you are going to use: Sherwin Williams, Behr, etc, and then picking up way more color swabs than you think you will need. When you get home place the colors up to the wall. Use your gut instinct to either say, ” yes, maybe this will work OR, no, this won’t.” Now take the pile of “yes” maybe’s and tape them to the wall. Tape them in a spot you can see everyday and leave them their for a good week. This allows you to absorb the color choices and really get a feeling for which color you want.
Paint Finish
Paint finish was like a foreign language to me, prior to painting our house. I knew there were different finishes, but really didn’t know the difference between them.
- High Gloss: High durability paint, very shinny and light reflecting.
- Flat/Matte: A lower durability paint, hard to clean without taking paint off the walls, no sheen. Should be used in rooms with lower traffic as it doesn’t clean well. (I HATE this type of paint. We had it in our last house and every time something got on the wall and I wiped it off paint came off.)
- Eggshell: A medium durability paint. Not super shinny but not flat/matte. It’s a healthy balance in between.
- Satin: A high durability paint with a bit of sheen to it. (This is the type of paint we used mostly throughout the house.)
- Semi-Gloss: A high durability paint. Semi-gloss paint is good for rooms with more moisture (bathrooms & kitchens) and rooms with more grease (kitchens). (We used semi-gloss in our kitchen.)
Organization
I can’t emphasize enough to create a spread sheet of the colors you paint your house. We used google sheets so we both can easily pull it up on our phones. Every time we get a new paint color/paint another room, we update this. Having a spread sheet of the colors and finishes makes touch ups down the road that much easier, and you don’t have to mess with matching the paint. From experience matching the paint can be a BEAST.
Prep
Outlet Covers/Misc
Take off all outlet covers and miscellaneous things on the wall (curtain rods, vents, etc.). This is the perfect time to clean them and set aside until you are done painting.
Taping
Taping is a beast, but ultimately really matters. We have painting 5 rooms/areas and I can tell you the taping has taken quite a bit of the time to paint those rooms. There is something so soothing about nice crisp clean lines.
In taping I recommend taking a nice big strip of tape versus smaller ones and lining the entire thing up and then firmly pressing down on it. I usually run my nail over it to make sure we have a good seal. My husband and I have also been caulking our tape. This ensures no paint seeps through the tape.
How to caulk your tape
- Tape entire room and make sure it’s firmly pressed against the trim, wall, etc.
- Take some painting caulk and run a thin strip of caulk on the edge of the tape. Run around a 4-5 foot strip and then stop.
- Run your finger over the thin strip of caulk. CAUTION: Don’t go too fast or your will burn your finger. What you are trying to do by running your finger over the caulk is to create that seal and with minimal amount of caulk. While you are running your finger over the caulk have a paper towel in the other hand to wipe the excess caulk off your finger. This will allow you to get nice clean, crisp edges.
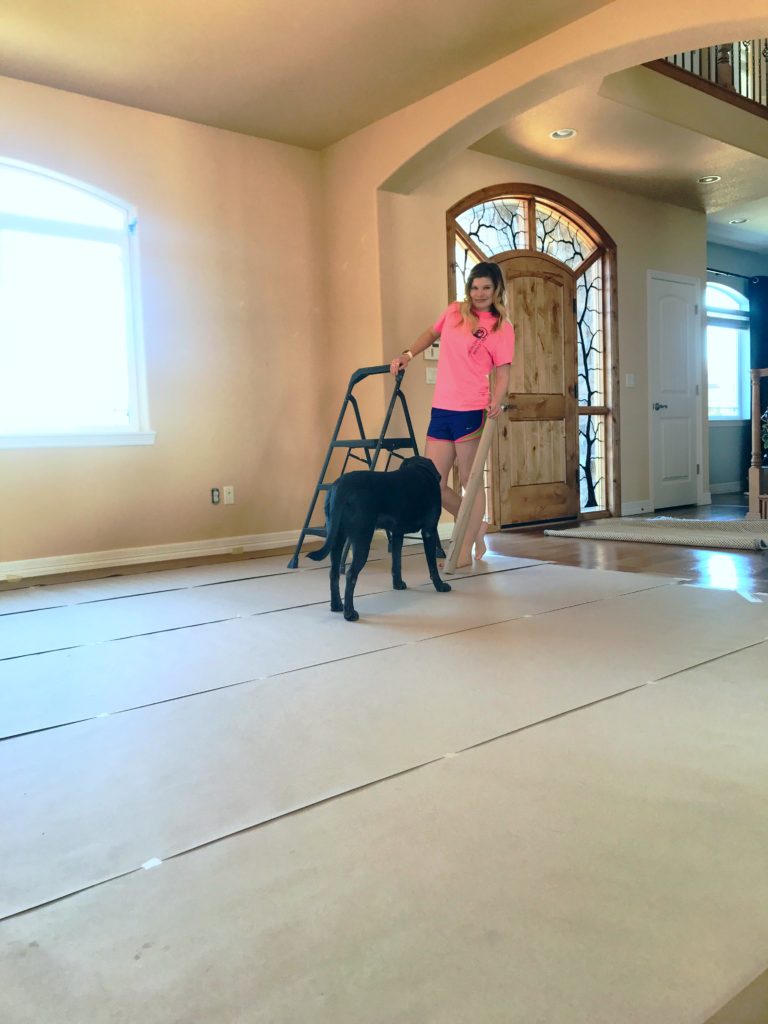
Floor Covering
Covering the floor may seem like a beast, but it really isn’t bad guys. My husband and I have purchased numerous rolls of painters paper. It’s like a brown paper than comes on a roll. You simply roll it out to the length you need in the room and tape both sides.
Painting
Edging
We always start with edging. When edging take a small painters cup and pour a little bit of paint in the cup. Take the paint brush of your desire and simply paint around the room where you taped. I paint over the tape, so I ensure I am getting everything. You don’t have to be worried the paint will seep through when you caulk. Painting over the tape also allows you to move more efficiently. This is also the time to paint around the outlets.
We have to do two coats of paint in our house so we have been doing both coats of edging and then moving on to rolling. You need to make sure the first coat of paint is DRY before you do the second, otherwise you will just be wiping off the first. Depending on the room you will either be able to go back over all your edging when you are done with the first coast, or if it’s a smaller room you may have to wait a bit.
Rolling
Rolling is a beast, but goes much faster than edging. The trick to rolling is to make sure you have enough paint on your roller, but not too much, and to not push too hard on the roller when painting. This technique took me awhile to master, so don’t feel bad if you don’t get it right away.
Advice
Painting isn’t a small undertaking guys. No matter what the size of room you are painting/surface area you are painting. A few final tips for you:
- Be kind to yourself. Painting isn’t something that comes naturally to all of us and it’s not the easiest to ensure you don’t have lines/streaks in it.
- Take your time with both painting and prepping. There is no point in rushing. Rushing will only give you a sloppy job and you will have to go back and do it again.
- Recognize it’s a process. Your whole house isn’t going to be painted in a weekend. It takes time and money.
- Invest in quality paint and materials. Quality paint really goes a long way. We have low quality paint in our last house (we didn’t pick it) and it was a constant battle. We have invested in the highest quality paint we can get for this house and I couldn’t be happier with how it is turning out.
I hope these painting tips help. I wasn’t a master over night, nor do I still look at myself as being a master painter. I am just a woman trying to get ride of the yellow/tan/cream color throughout my house to create an atmosphere that’s welcoming and relaxing to myself and my husband. What color is your house?


2 Comments
Abby Sainz
My house is white, but thinking of changing it to a light grey.
Jessica
Painting is such a process, but so worth it. Best of luck girl!