Pantry Remodel
It finally happened. We finally remodeled the pantry. It’s finally Jessica approved, aka organized and pretty. The pantry is no longer yellow with wire shelves; it’s all the bliss. Grey with white wooden shelves. Ahh a cooking and baking wife’s dream and heaven. I finally don’t cringe going in it. Not that I always cringed, but I was not and am not big on wire shelves.
While remodeling a small pantry may not seem like a boat load of work, it was more work than I anticipated. I wish I could have just snapped my fingers and it was done, but unfortunately that was not the case. It was a process and took some time, but SOOO worth it. Are you wanting to get rid of those wire shelves in your pantry? Maybe you don’t have wire shelves and just need some pantry organization? Girl I have you covered.
Pantry Remodel
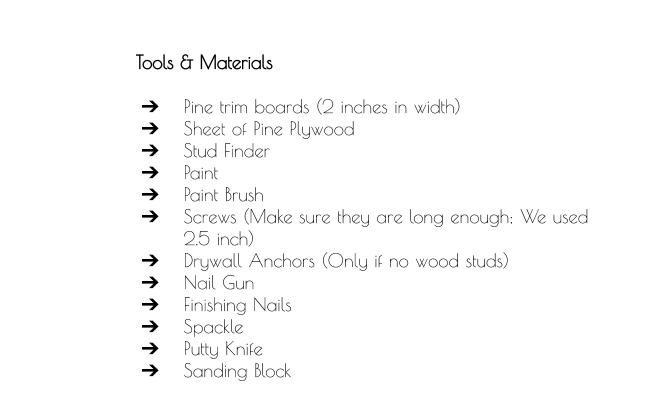
Purchase All Materials
To make sure you have enough trim measure the 3 sides of your pantry first. Add all 3 measurements up (both sides and the back) and multiply by the number of shelves you want to put in. This will give you the total inches of trim need. This will also give you the dimensions of the shelves. We did 5 shelves and one sheet of plywood was enough for the size we needed the shelves to be, but this may not be the case for you.
In regards to paint, we used a semi-gloss as it’s what we had and it’s more durable. If you need help choosing the type of paint, check out my house painting blog post linked here.

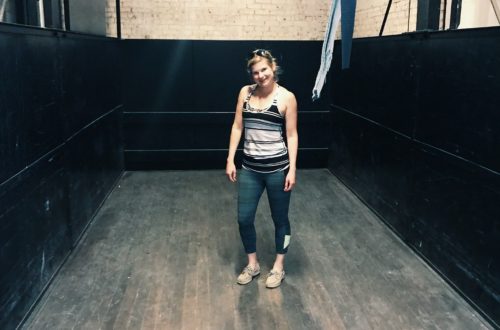
Remove All the Goods
I am not going to lie this step is going to make the rest of your kitchen/dining room look like a hot mess for a few days, but it’s definitely worth it.
After removing all the goods, I went through all the bins I have in our pantry. I consolidated and threw away expired items.
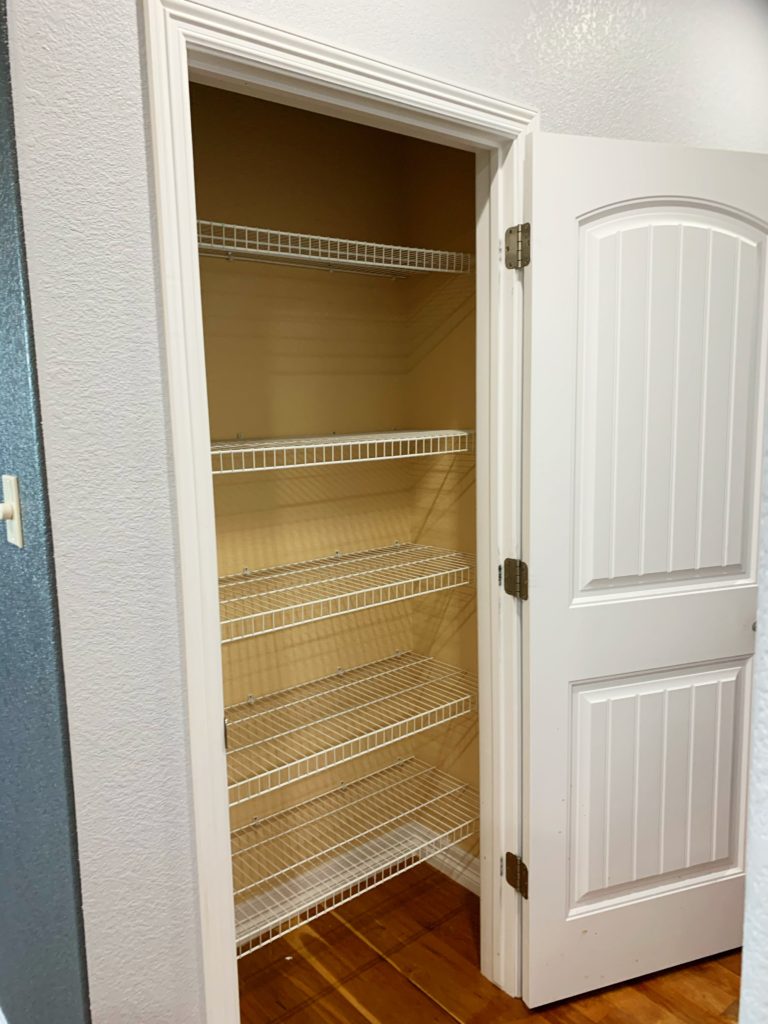
Remove the Wire Shelving
Removing the wire shelves was surprisingly easier than I thought. The Rubbermaid shelves that were in our panty just snapped into these clip things on one side and then sat in these plastic things on the other side. It was super invigorating removing them.
Remove the Dry Wall Anchors
Now this was the hard part. My husband and I used a nail and a hammer and got under the nail head in the dry wall anchor. Then we used a needle nose pliers to pull out the nail. Lastly, we wiggled out the dry wall anchors. Using this process we kept the large holes to a minimum. Yes, we still had pretty big holes, but not as much as just ripping them out.
Patch the Holes
Use spackling to fill the holes in the wall. If you have texture on your walls ensure you don’t get too much spackling over the wall as you will take away from the texture and you will be able to tell where you patched those holes. After filling the holes with spackling wait for them to dry. I let ours set for a couple hours while I did other stuff around the house.
Sand Down the Spackling
Once the spackling is dry, sand it down a little to ensure the surface is smooth and remove unwanted elevation you may have due to adding excess spackling.
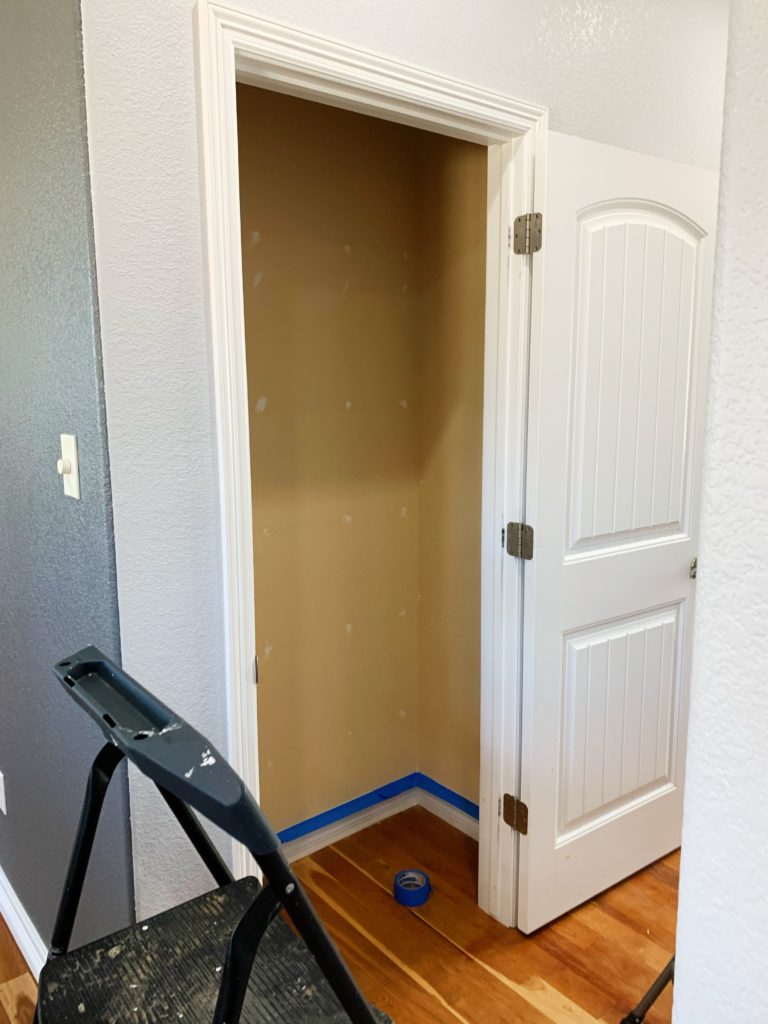
Prep for Painting
Prep your pantry for painting by taping as needed and placing a drop cloth or painter/industrial paper on the floor.
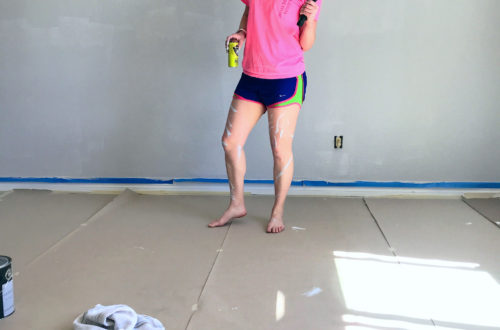
Paint
We re-painted our entire pantry from the yellow it was to grey. If you aren’t re-paining the whole thing paint over the patched holes and make sure the repaint the patches. Make sure the painting is evened out.
Paint the Trim Boards
Paint all the trim boards. This will take a bit of time as you have to do all sides.
Cut Trim Boards
Cut the trim boards to the lengths of the right and left side and back wall. CAUTION: I recommend doing one board at a time, as the length of the back wall board isn’t going to be quite as long as you anticipated due to butting up against the side boards.
Mapping Out the Shelves
Measure out the distance you want your shelves apart from each other. We did various distances as some stuff is higher/lower than others. It also gives the pantry a little more flare if you ask me.
Installing the Ledge
Using the trim boards, pre-drill holes to line up with the studs. (To find studs use a stud finder). Use the 2.5 inch screws and drill them into the studs. If you don’t have enough studs, you will need to use drywall anchors. I recommend 6 screws on each side to ensure maximum strength and support for the pantry shelves.
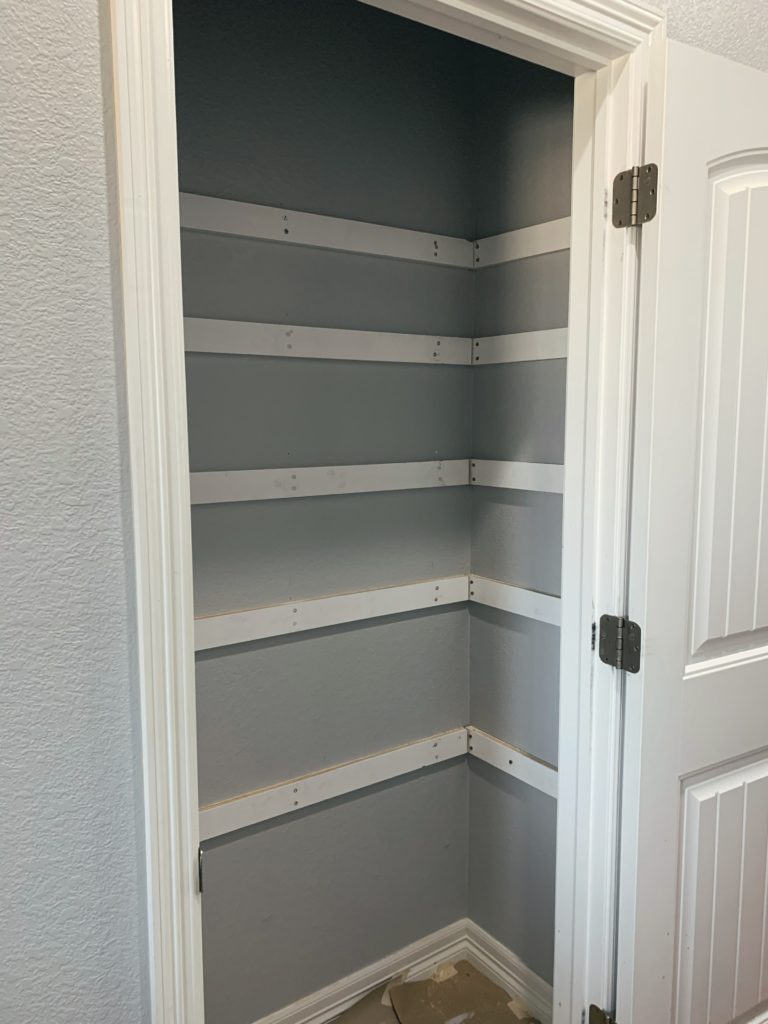
Filling & Painting
After you have installed all the ledges you will need to use spackling to fill the screw holes. Once the spackling is dried sand down any excess and paint.
Cut & Paint Shelves
Cut the number and size shelves you need for the pantry and paint them. The shelves will take a good 3-4 coats of paint to really be fully covered. This step is a bit time consuming. I painted the sides and then did something else for a bit and went back and painted more, and so on.
Installing the Shelves
Place the shelves on top of the ledges and use a nail gun with finishing nails to secure the shelf to the ledge.
Touch Up
Once all the shelves are in, take a little paint and go over the finishing nail holes.

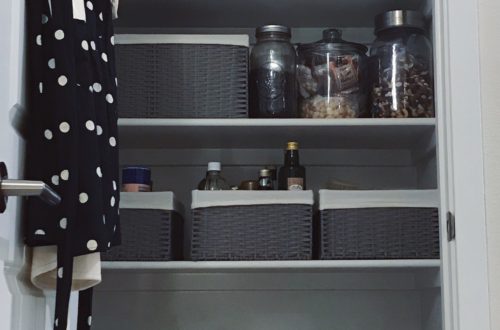
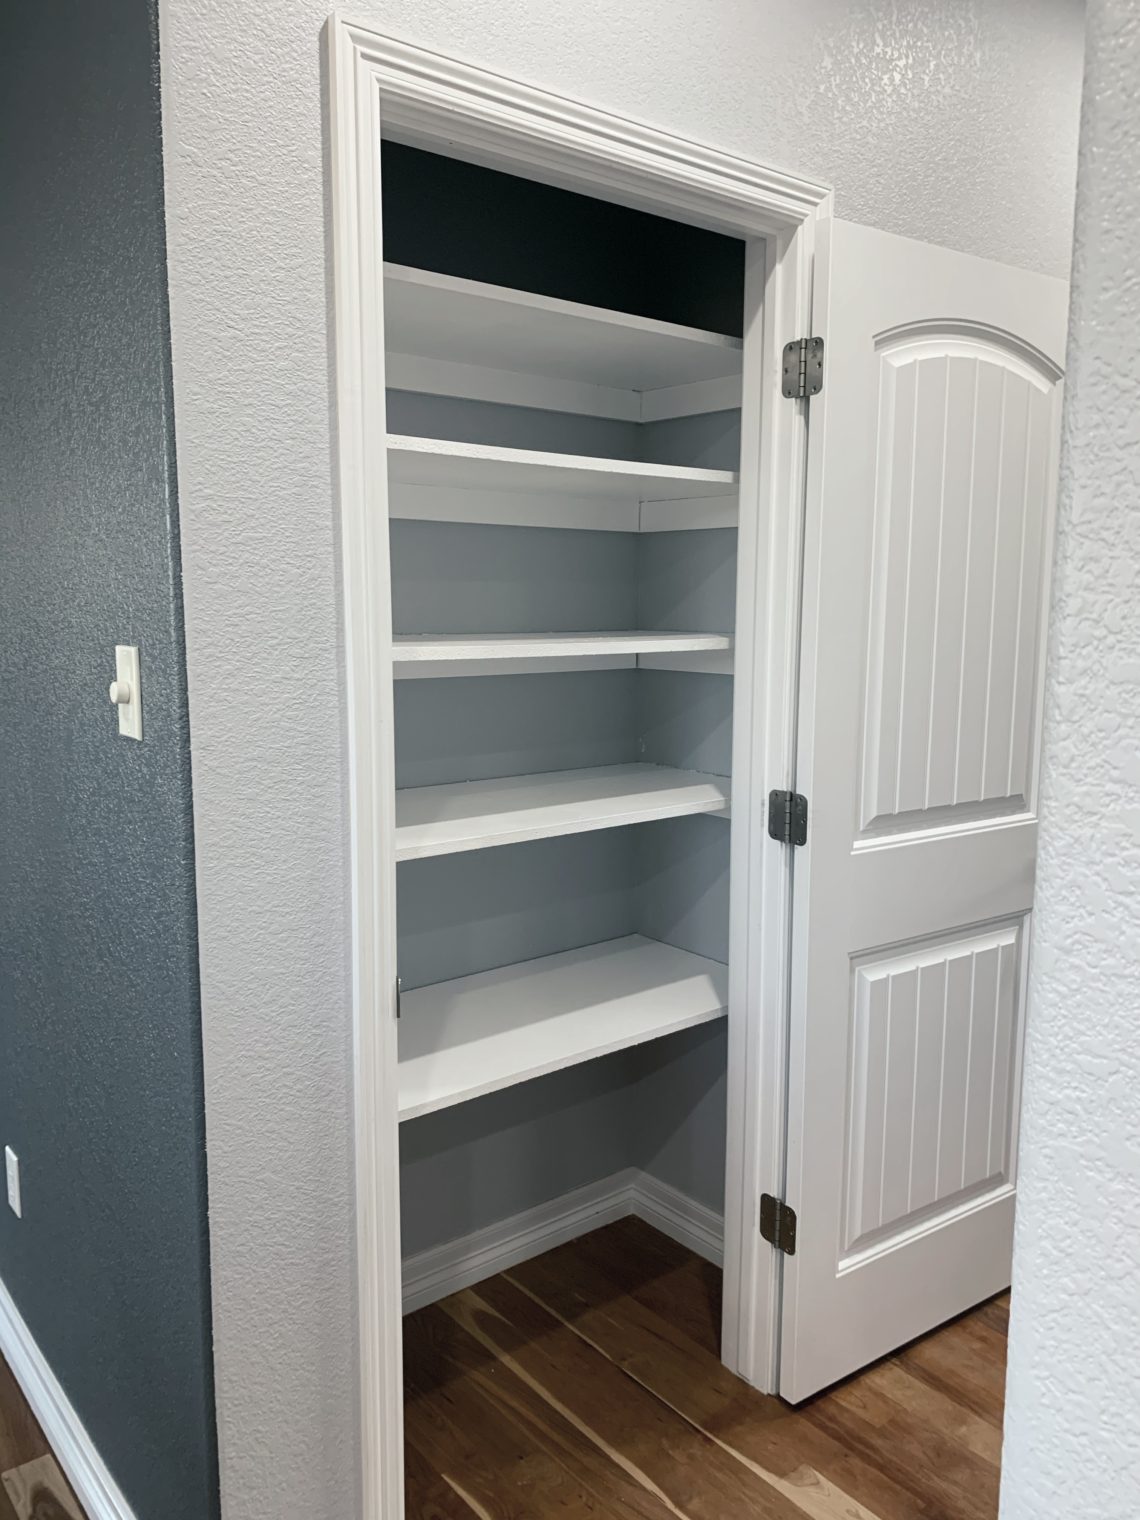
Completion
Your pantry is completed. You now have a wood shelf pantry, and if you ask me this is so much better than those wire shelves. The wire shelves ate the baskets I had in my pantry and just didn’t speak “Jessica (aka me).” I hope you enjoy your pantry just as much as I now do mine.